







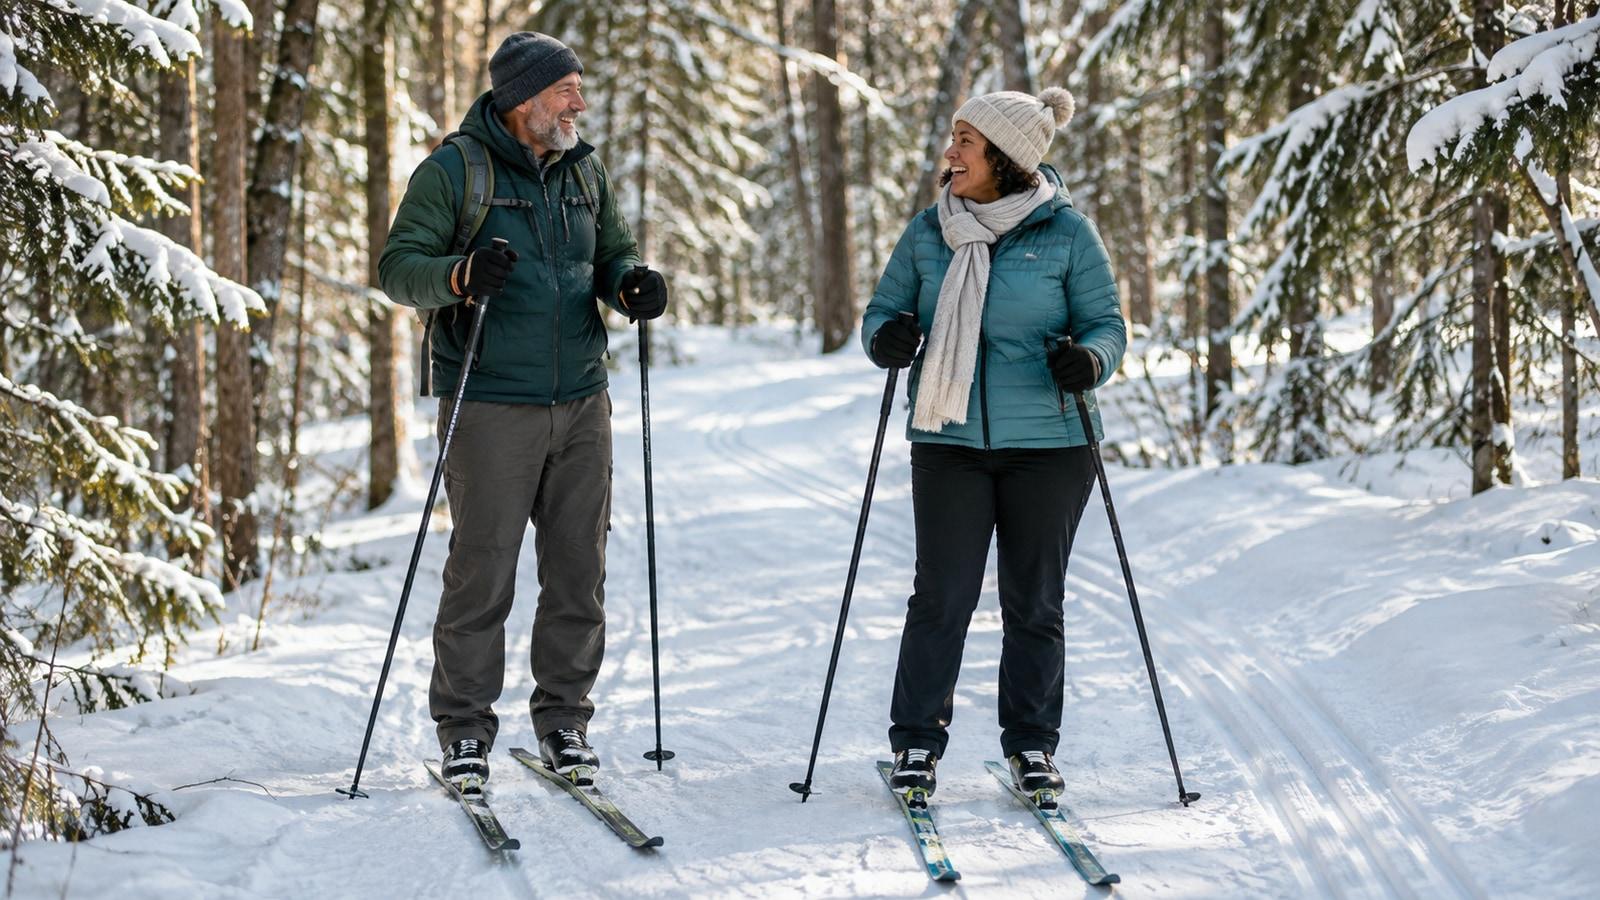
Cross-country skiing can be a quiet way to explore a snowy park, but the first outing involves more than clipping into skis and heading down a trail. There are different techniques, specialized boots and bindings, and a few cold-weather details that are easier to learn with someone experienced nearby.
You don’t need to buy equipment or cover a long distance to try it. A beginner lesson at a managed Nordic center can help you find out whether you enjoy the movement and the setting.
Find an introductory lesson
Ask a local Nordic center or recreation program whether it offers adult beginner instruction and rentals. Find out how long the lesson lasts, what the fee includes, and whether the group practices on gentle, groomed terrain. If you need adaptive equipment or assistance, ask about the available program, access to the snow, and how equipment is fitted.
Cross-country skiing includes classic and skate techniques. A beginner class may focus on one of them, and the skis and boots can differ. Tell the rental staff which lesson you booked so they can help you choose compatible equipment. You don’t need to decide which technique is “best” before trying either one.
Ask what happens if the weather changes. Snow conditions, wind, and temperature affect a lesson, and a reputable provider may shorten or postpone it. That’s useful information to have before you make the trip.
Let the rental staff fit the gear
Ski length and boot fit depend on the equipment, the technique, and the skier. Give the staff the information they request so they can make an appropriate recommendation. Boots should feel secure and comfortable; tell them if a boot pinches or your heel moves in a way that feels awkward.
Ask how the bindings open and close before you step onto the snow. If poles are included, have the instructor check their length and explain the straps. Don’t assume downhill ski equipment works the same way as cross-country gear.
If you have an injury, balance concern, or health condition that makes a fall or cold exposure particularly risky, discuss the activity with your care team. A lesson can be adapted in some settings, but the right decision depends on your circumstances and the equipment available.
Dress for movement and cold
Wear layers you can adjust as you warm up, along with a hat, gloves or mittens, and socks suitable for your boots. The center can suggest clothing for its local conditions. Avoid getting so warm that your clothing becomes soaked with sweat; wet layers can leave you chilled when you stop.
Check the forecast, wind, and trail report before heading out. Protect exposed skin and shorten or postpone the outing in severe cold or poor conditions. Numbness or unusual changes in skin color can be signs of cold injury; get warm and seek appropriate care. Confusion, slurred speech, or extreme drowsiness in the cold can signal a medical emergency.
Bring a drink and any personal items you need. If you’re going beyond a supervised lesson later, tell someone where you’re going and when you expect to return. For a first visit, staying with the instructor and on the planned beginner terrain keeps the logistics simpler.
Learn the basics before distance
Your instructor may begin with standing, moving on flat snow, turning, and getting up after a fall. Practice these at a pace that feels manageable. Ask how to stop and how to handle a small slope before you encounter one.
Stay on terrain that matches your ability and the group’s plan. A trail marked easy can still have a descent that feels fast to a newcomer. If you’re uncomfortable, tell the instructor; walking a section or choosing a different route is a reasonable decision.
Take breaks and notice your breathing. The first session may work muscles in unfamiliar ways, and the equipment can take concentration. If you feel sharp pain, dizziness, chest discomfort, or unusual shortness of breath, stop and get appropriate help. Severe or persistent symptoms need prompt medical attention.
Keep the first outing short enough to enjoy
You might spend the lesson learning on a small loop and head inside afterward. That’s a complete first experience. If you want to try again, you’ll know more about the boots, clothing, and trail conditions that worked for you.
Skiing can be one way to include outdoor movement in a weight-management routine, but there’s no need to make the first day a distance challenge. If you take a GLP-1 medication and feel unwell, it’s fine to postpone. Discuss persistent symptoms or difficulty eating and drinking with your care team.
After the lesson, return the rental gear, change out of wet layers, and notice what you enjoyed. The next visit can build on that—whether it’s another short lesson, a gentle trail, or deciding that a different winter activity suits you better.