










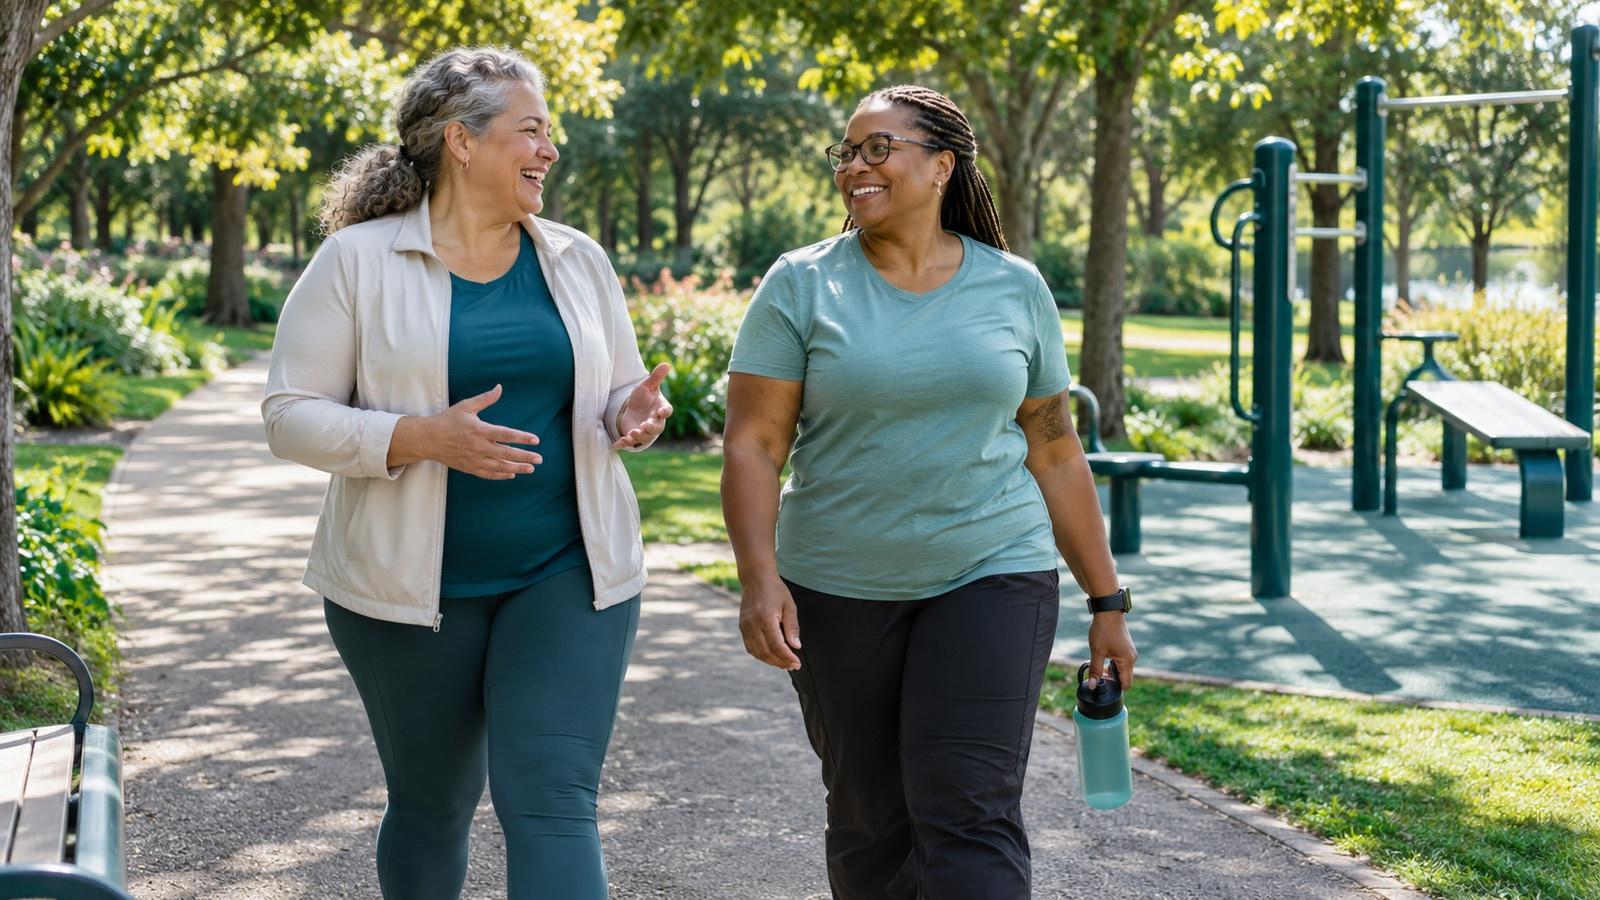
A fitness trail can turn a trip to the park into a choose-your-own workout. Along a path, you might find signs or stations for movements such as stepping, stretching, or using outdoor exercise equipment. You can try one station, several, or none at all and simply enjoy the route.
The signs are suggestions, not a test you have to pass. Before you begin, take a look at the route and decide what works for your time, comfort, and access needs.
Check the route before the stations
Find out how long the trail is and whether there’s a shorter loop or an easy place to turn around. A map can help, but it may not show every hill, curb, muddy patch, or uneven surface. If possible, start with a familiar section or ask the park about the actual path surface and elevation.
Look for parking or transit, restrooms, water, shade, and places to sit. If you use a wheelchair, rollator, cane, or another mobility aid, ask specific questions about the width and condition of the path and how you reach the exercise stations. A station next to a paved trail may still sit on grass or gravel.
Weather can change the experience. A pleasant route can become slippery after rain or uncomfortable in midday heat. Pick a time and conditions that suit you, and bring what you normally need for a trip outdoors.
Read the station before using it
When you reach a station, read the instructions and look over the equipment. Is there a clear explanation of how it moves? Is the surface stable and dry? Are there loose parts, sharp edges, or signs that the equipment is damaged? If something seems unsafe, skip it and let the park know.
Try a movement without rushing. If the station has a moving part, learn its path and check that you can get on and off comfortably before adding effort. Keep hands and feet clear of pinch points. If you’re unsure how to use it, there’s no obligation to experiment; move on or ask a qualified professional for guidance.
Some signs suggest a number of repetitions or a difficulty level. Treat that as general information. It may not fit your experience, health, or the way your body moves. You can do fewer repetitions, take a longer rest, or choose an alternative.
Build a first visit around curiosity
One option is to travel a short section of the path and stop at one station that looks comfortable. Read the sign, try a few controlled repetitions if appropriate, and continue or turn back. On another visit, you might explore a different section. You don’t have to complete the whole circuit in order.
If you prefer company, invite someone who is happy to go at your pace. Agree in advance that either of you can stop, skip a station, or head back. That makes it easier to enjoy the outing without feeling responsible for matching another person’s plan.
Bring a drink and take breaks that make sense for you. If the trail has no seating where you need it, a shorter route or another location may be a better choice. Access is about the whole trip, not just whether one piece of equipment has an inclusive label.
Notice how the effort feels
A trail might alternate a steady walk or roll with brief strength movements. The change can feel harder than it looks. Start gently and see how you feel during the outing and afterward. If you’re breathing much harder than expected or need a long recovery, reduce the distance or number of stations next time.
For aerobic activity, being able to talk is one rough way to judge effort. A lighter pace can be a good starting point if you’re new to exercise. During a strength movement, use a controlled range and keep breathing rather than forcing the equipment farther than is comfortable.
Stop for sharp pain, dizziness, chest discomfort, or unusual shortness of breath. Seek appropriate help, especially for severe or persistent symptoms. If you have an injury, balance concerns, or a medical condition that affects activity, ask your care team what kinds of movement and support are suitable.
Make the trail fit your routine
You might visit after an errand, meet a friend there once a week, or use it when you want an outdoor alternative to a gym. A useful routine is one you can reach and enjoy. If a station isn’t accessible or doesn’t feel right, skipping it doesn’t make the rest of the outing less worthwhile.
For weight management, the trail can be one way to add movement without tracking every step or repetition. If nausea or fatigue makes a long trip unappealing, save the trail for another day or choose an easier outing close to home.
After your first visit, remember one or two details for next time: where you parked, which path was smooth, or which station you liked. Then you can return with a plan based on your own experience.