
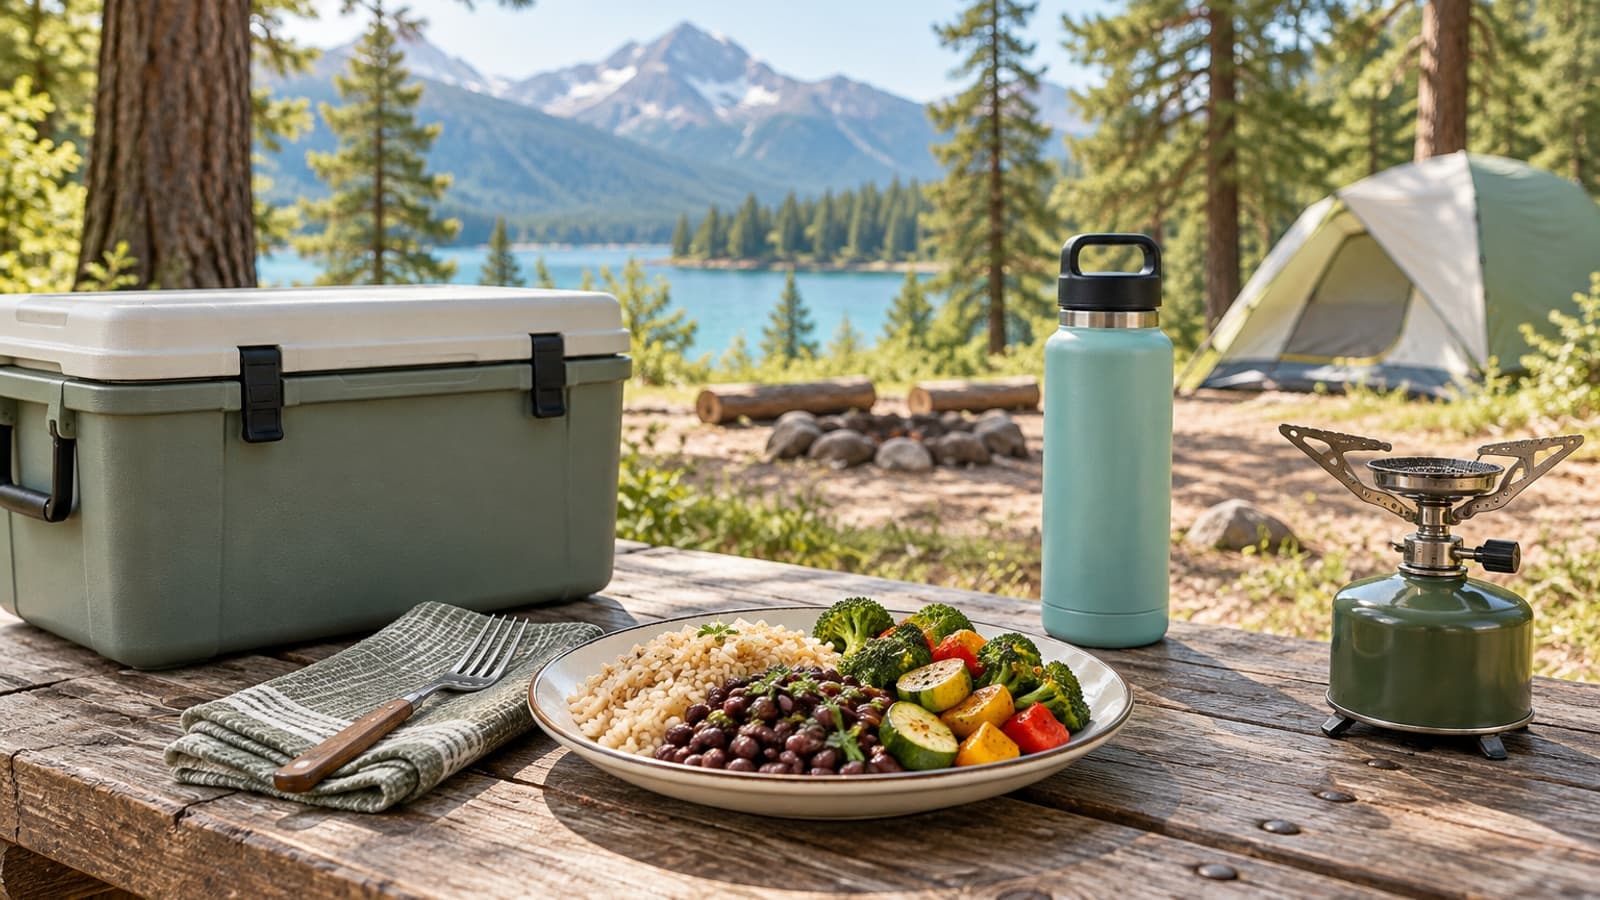
The tent is packed, the sleeping bags are rolled and someone has volunteered to bring chips. Dinner, however, is still a mystery.
A weekend outdoors can include satisfying meals without a complicated camp kitchen. Plan the meals before you pack the cooler, and you’ll have a better idea of what needs ice, water or a cooking surface.
Begin with the campsite
Find out whether the site has safe drinking water, a place to wash dishes and any cooking facilities. Check local fire conditions and campsite rules before assuming you can cook over a fire. If the water supply is uncertain, bring enough safe water for drinking, cooking and washing, or use an appropriate treatment method for the source.
Think about your equipment honestly. A single burner can heat one pot at a time; it probably won’t support a three-pan breakfast. A cooler is useful only if you can keep its contents cold for the time you’ll be away.
Never use a fuel-burning camp stove inside a tent, camper or other enclosed space. Set up outdoors in an appropriate, stable location and follow the equipment instructions. If the weather makes safe cooking impossible, a no-cook backup is useful.
Build a short menu
For a two-night trip, write down the meals you expect to eat rather than tossing in unrelated ingredients. Oatmeal and fruit could be breakfast; a bean-and-rice bowl with vegetables might be dinner. A ready-to-eat pouch and crackers can cover a lunch when everyone is out exploring.
Choose familiar foods alongside anything new. If your appetite has changed on a GLP-1, pack components that can be served separately. One person might want a smaller bowl at dinner and something later; another may want more right away. Both can eat from the same supplies.
Consider how much preparation you want after setting up camp. Ingredients washed and portioned at home can save time, provided anything perishable stays safely cold on the journey. If allergies matter in your group, read ingredient labels and prevent cross-contact when preparing shared meals.
Give the cooler a job
Start with cold food, add enough ice or frozen packs and keep perishables at 40°F or below. A small thermometer is more dependable than guessing from the feel of the outside. Keep raw meat separate from ready-to-eat food, and open the cooler only when needed.
Store the cooler in shade when you can. Have a plan to replace ice, or choose shelf-stable foods for the later part of the trip. If perishables have been too warm for too long, discard them; don’t taste food to decide whether it is safe.
Take a separate water bottle or supply for cooking so you know what is available when it’s time to prepare dinner. Don’t assume clear stream water is safe to drink. A filter’s abilities vary, so check what your treatment method removes before relying on it.
Pack the little things
Soap, clean water, a cutting surface, utensils, bags for trash and a manual can opener are easy to forget. Wash hands with soap and safe water before handling food and after using the bathroom. At a remote site, plan where that water and soap will come from before leaving home.
If persistent nausea, vomiting or another symptom is making food or fluids difficult, check in with your care team before a remote trip. Bring any medicines according to their own storage instructions; a food cooler plan is not automatically a medication plan.
Our travel-day eating guide covers the journey itself. At camp, a short menu and a safe setup leave more time for the part you came for.