










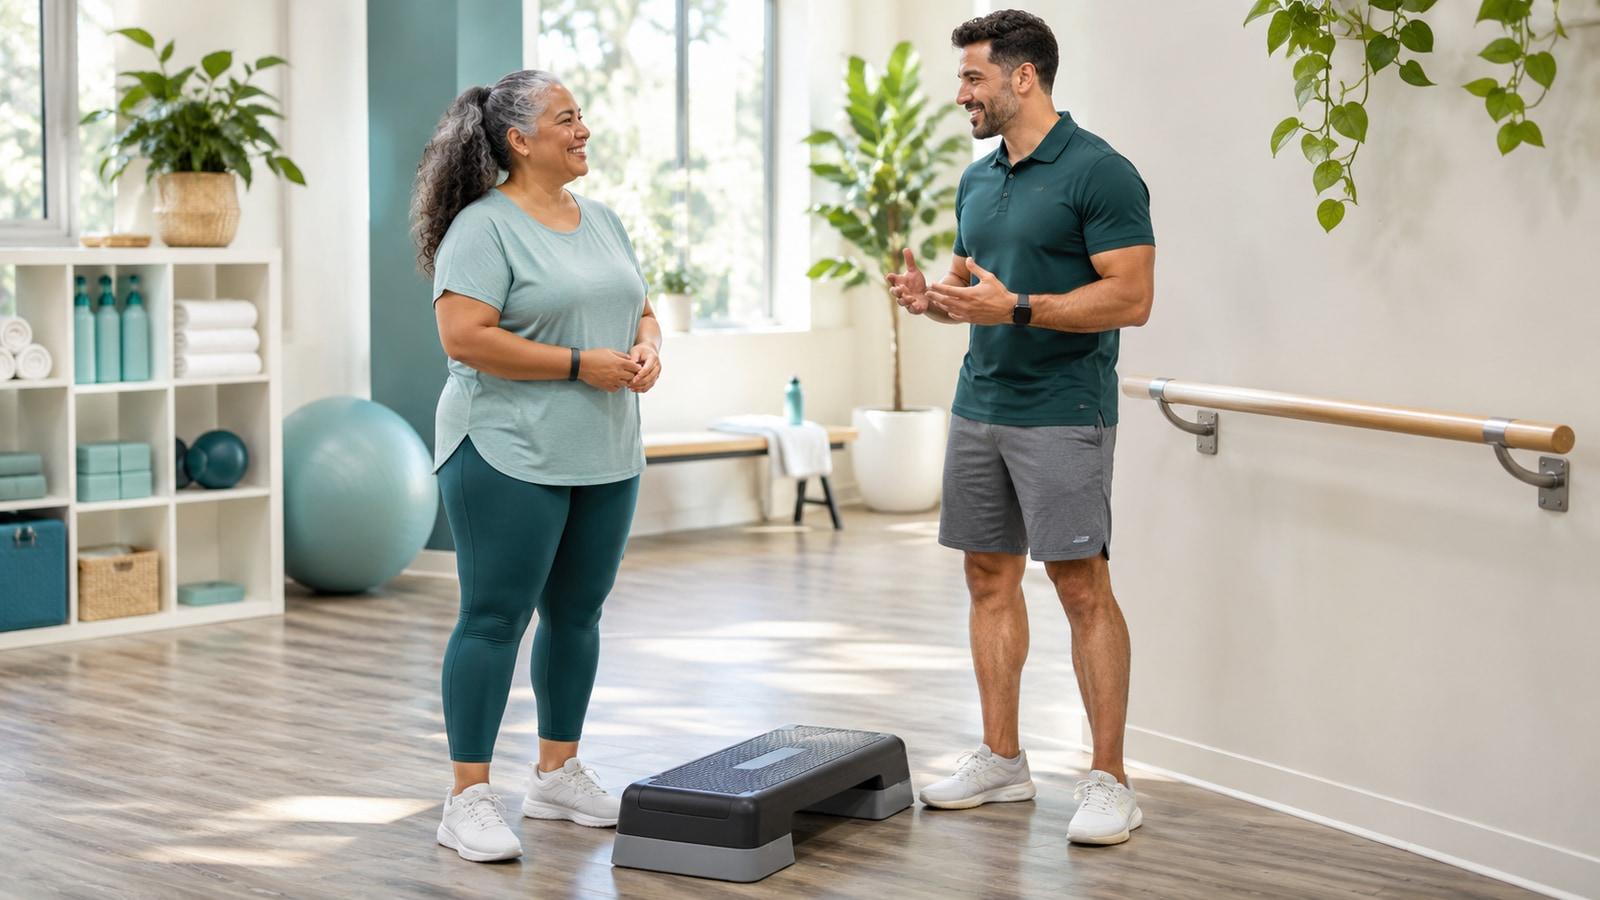
Walking down a step is something many of us do without thinking—until a high curb, an unfamiliar staircase, or a change in balance makes us pay attention. A supported step-down is a way to practice lowering one foot while the other leg controls the movement.
It’s worth taking the setup seriously. A low, stable step and a handrail you can reach are more useful than a taller platform that makes you nervous. If you’ve had a recent injury or surgery, follow your own rehabilitation instructions and ask your clinician whether this movement is right for you.
Start with the space
Choose a low, secure step with a firm surface and a fixed handrail or another support designed to hold your weight. The bottom step of a staircase may work if the area is clear and the rail is within reach. Avoid a loose box, a wobbly stool, or a stack of items that could shift.
Look at where your lower foot will land. The floor should be dry, uncluttered, and at a level you can see clearly. Wear shoes that feel secure. If you need more support than the rail provides, a physical therapist can help you find a different setup or exercise.
Try stepping up and down the low step in your usual way first, using the rail. If that doesn’t feel safe or comfortable, don’t move on to a repeated step-down on your own. There’s no required starting height; a smaller movement or another activity may suit you better.
The basic movement
Stand on the step with one hand on the rail. Keep the foot that will support you fully on the step and allow the other foot to move toward the floor. Slowly bend the supporting knee and hip enough to lower the free heel. If it reaches the floor comfortably, let it touch gently; if not, use a smaller range.
Press through the supported foot to return to your starting position, using the rail as much as you need. Move slowly enough that you remain in control. You’re practicing the lowering, not dropping quickly and catching yourself at the bottom.
After a few comfortable attempts, rest. If you choose to practice the other side and it is appropriate for you, turn carefully, find the rail again, and repeat. A therapist may give you a specific side, range, and number of repetitions; that personal plan takes priority.
What should you notice?
You may feel your thigh and hip working on the leg that stays on the step. Keep that foot planted and let the knee move in a comfortable direction over the foot. You don’t have to stare at your knee throughout the exercise, but you can ask a professional to check your alignment if you’re uncertain.
Using the rail is sensible support, not a shortcut that makes the exercise worthless. The amount of help you need can vary with the day, the step height, and your experience. Keep holding on if that’s what lets you move safely.
If the free heel drops heavily, the step may be too high or the movement too large. Try a lower step or a smaller bend, with guidance. If you feel sharp pain, become dizzy, or feel that you might fall, stop. Don’t repeat a movement that makes symptoms worse in the hope that it will suddenly become comfortable.
How is this different from a step-up?
In a step-up, you begin below the step and practice rising onto it. Here you begin on the step and pay particular attention to the leg that stays above while the other heel lowers. The supporting leg controls the descent. You can return to the top after a light heel touch, or finish by stepping down if that is the version you have been shown.
Neither movement needs to replace the other. If lowering is the part that feels rushed, this shorter practice gives you a chance to slow it down with a rail nearby. Choose a range in which you can stop the movement; reaching the floor is not a requirement for every repetition.
This exercise isn’t a complete lesson in navigating a staircase with crutches, a cane, or a mobility aid. After an injury or operation, your safest stair technique may depend on which leg can bear weight and what equipment you use.
Ask your care team to show you the method that applies to you. If they’ve limited weight-bearing or told you to avoid certain knee movements, follow those restrictions. The fact that an exercise appears in a general article doesn’t make it suitable for every stage of recovery.
Build confidence without chasing height
For a first try, a few smooth repetitions with the rail may be enough. Notice how your knee and hip feel during the movement and later in the day. If you want to progress, a professional can help you decide whether to add repetitions, adjust the range, or use another exercise.
Higher isn’t automatically better. A low step that lets you lower slowly can provide a clearer practice opportunity than a tall one that makes you rush. You can also choose a chair-based or floor-level movement if stepping isn’t a good fit.
Strength and balance activities can support a broader movement routine, including one built around weight management. Choose the activities that suit your body and your life. With a steady rail and a manageable step, the aim is to practice control—not to see how much difficulty you can tolerate.