


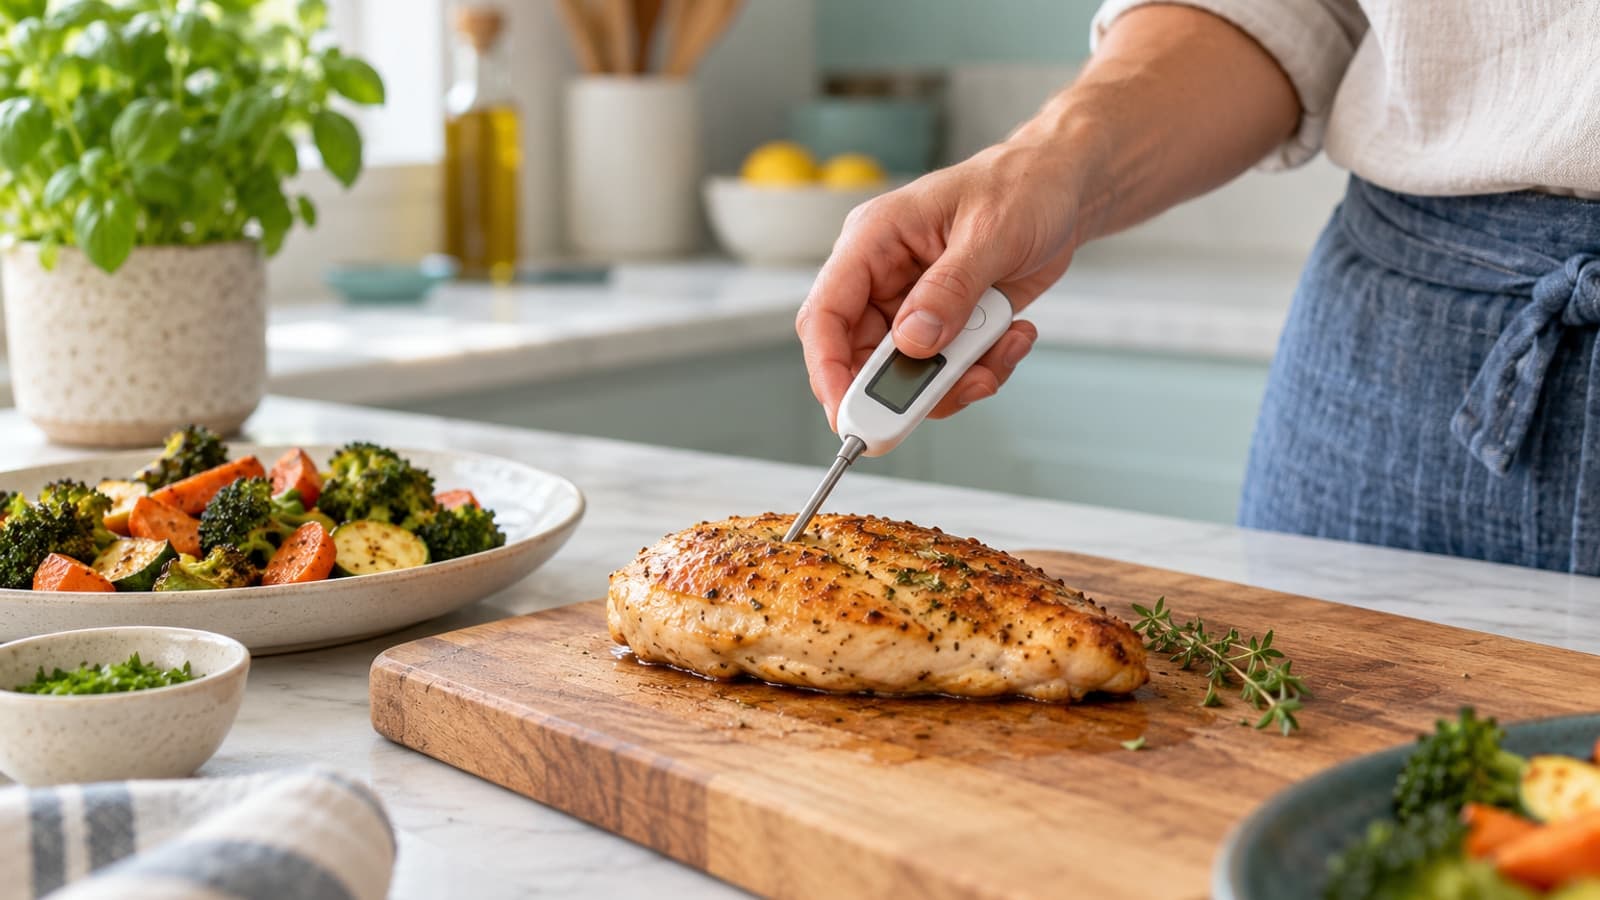
A timer tells you when to check; a thermometer tells you the temperature. That's useful when a chicken breast looks browned outside but is thicker in the middle, or when last night's casserole comes out of the microwave with one hot corner.
You don't need to turn dinner into a science project. A small food thermometer and a few familiar numbers can make the check straightforward.
Find a thermometer that suits the food
An instant-read food thermometer is made to check the temperature while you're cooking or reheating. Follow the instructions for your model: thermometers differ in where the sensor sits, how deeply the probe needs to go and whether the device can stay in the oven. Many instant-read models are not designed to remain in food while it cooks.
Keep it clean and easy to reach. Wash the probe with soap and water before and after use, following the maker's directions for the rest of the device. If the probe touches raw or undercooked food, wash it before using it on food that's ready to eat.
Aim for the center
For a thick piece of chicken or meat, place the sensing part of the probe into the thickest area, away from bone, fat and gristle. Don't let the tip touch the pan. Wait for the reading to settle according to the thermometer instructions.
Thin foods can be trickier. With an appropriate instant-read thermometer, entering from the side can put the sensor in the center of a thin burger or chicken breast. Check the instructions for your particular probe rather than assuming only the very tip measures temperature.
If you're heating a casserole or a bowl of leftovers, stir or turn it when appropriate, then check more than one spot. Microwaves can leave cooler areas even when the edges are very hot. Follow the package or appliance instructions for standing time before checking.
A few numbers to keep handy
Different foods have different minimum temperatures. These are useful starting points:
- Chicken and other poultry: 165°F, including ground poultry.
- Ground beef: 160°F. Ground poultry has the higher poultry target above.
- Whole cuts of beef, pork or lamb: 145°F, followed by a three-minute rest.
- Reheated leftovers and casseroles: 165°F throughout.
Other foods have their own guidance, so check the relevant temperature and any required rest time. If you eat fish, egg dishes or another food often, add its safe temperature to a note in the kitchen. A package may also have specific cooking and standing instructions to follow.
What if it isn't ready?
Keep cooking or reheating and check again with a clean thermometer. Move the probe to the middle of the food rather than measuring a thin edge. For a microwave meal, stir if the food and package directions allow it, then continue heating and observe the recommended standing time.
Don't use color alone as the final test. Meat can brown before it reaches a safe temperature, and a sauce can look hot while a thicker section is still cool. If the dish contains several pieces, check the relevant thicker pieces rather than assuming the smallest one represents the whole pan.
Once food is safely cooked, use clean utensils and a clean plate. Refrigerate suitable leftovers promptly; safe cooking doesn't replace safe storage.
Make the check part of your routine
If a GLP-1 has changed your appetite, you might cook smaller portions or save more for later. The same temperature check applies. A small piece can still cook unevenly, and a small container of leftovers still needs to be heated through.
Keep the thermometer near the stove or microwave, and add it to the steps you already take before serving. Our weekend meal-prep guide has more ideas for storing meals between cooking days.