










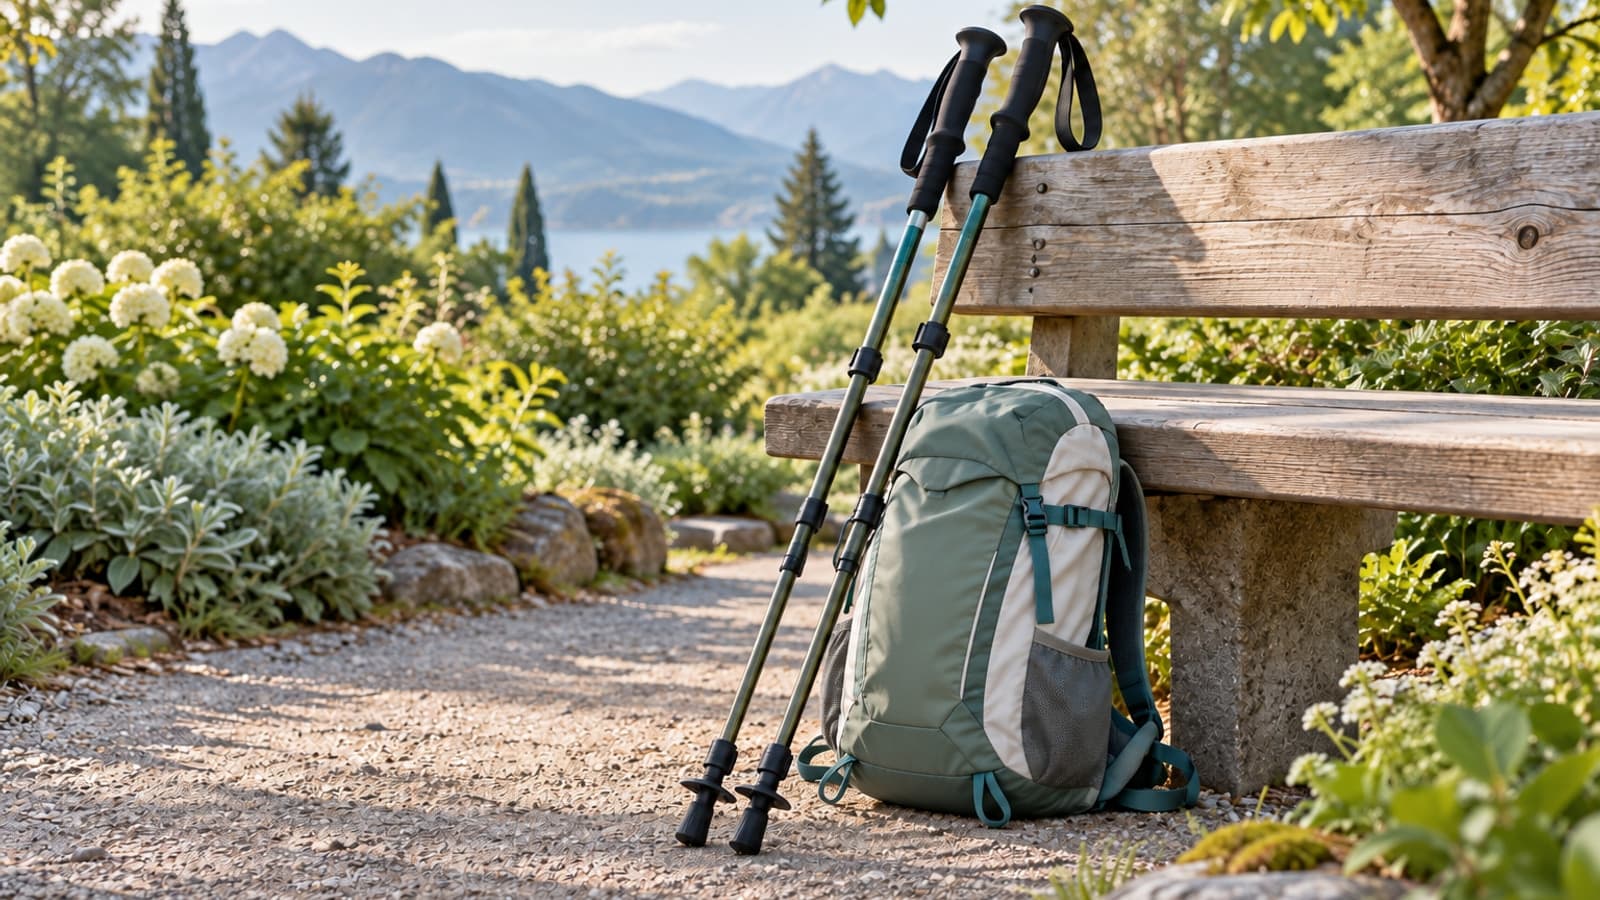
You may have seen people walking with two poles on a neighborhood path and wondered whether you need a pair. The answer depends on what you enjoy and where you walk. Some people like having poles on uneven trails; others find them awkward or simply prefer to keep their hands free.
Trekking poles are optional equipment, not a replacement for a prescribed mobility aid. If you use a cane, walker or other aid, ask the professional who fitted it before changing what you rely on for support.
Start with your actual route
Poles may be useful to try on a longer outdoor walk or a route with changing terrain. They give your hands something to do, and some walkers like the extra contact points. That doesn’t mean poles will prevent falls, protect every joint or make every trail safe. Conditions and comfort vary.
For a flat, familiar sidewalk walk, you may not want to carry anything at all. On a crowded path, the tips and straps can take up space, so think about other people nearby. If your usual route includes buses, narrow doors or stores, consider where you’ll put the poles when you’re not using them.
Borrowing or renting a pair for a short trial can answer more questions than buying the most elaborate model. A sporting-goods store or outdoor group may be able to show you the adjustment and locking system.
Find a reasonable starting height
Stand on level ground with the tip near your foot and hold the grip with your shoulders relaxed. An elbow bent roughly like the corner of a square is a common starting point. It’s a guide, not a rigid rule: your comfort, the pole design and the terrain all matter.
With adjustable poles, learn how the sections lock and stay within the marked adjustment limits. Before each walk, check that the locks are secure and the tips and straps are in good condition. Follow the directions for your particular poles rather than forcing a stuck section.
Some people adjust pole length for longer uphill or downhill stretches. Make any changes while stopped in a safe spot, and test the setting before continuing. If a position makes your shoulders bunch up or your wrists ache, stop and reconsider the fit. A knowledgeable instructor can help.
Give your hands and feet time to coordinate
Try the poles on a quiet, level route first. You may find an opposite arm and leg rhythm natural after a few steps. Keep the tips where you can see your path and avoid swinging them behind another walker. There’s no need to grip so tightly that your hands feel strained.
Learn how the straps on your poles are intended to be used and released. If a strap catches or the grip feels uncomfortable, pause and adjust it. Appropriate tips depend on the surface and the manufacturer’s instructions; check that a venue allows poles before heading indoors.
Take a shorter practice walk than usual. You’re learning a new piece of equipment, so it’s reasonable to stop, carry the poles or put them away if they feel distracting.
Notice comfort rather than chasing a promise
Ask yourself a few ordinary questions afterward. Did the poles make the route more enjoyable? Were they easy to carry through doors? Did your shoulders and hands feel comfortable? A yes is useful; a no is useful too.
If pain, dizziness or unusual breathlessness occurs, stop and get appropriate advice. For persistent discomfort with your walking setup, a physical therapist or other qualified professional can assess your needs. Call 911 for new or unexplained chest pain or other possible heart attack symptoms.
For more ways to choose comfortable movement during weight management, see our joint-friendly cardio guide. Poles can be a helpful preference for some walkers, but you don’t need them to make a walk count.